VyOS Platform build for Vultr Cloud
Introduction
Virtual Private Server (VPS) offerings have, forever, remained popular with hobbyists due to their unmatched accessibility. Compared to how IT professionals approach entry to any new data center, however, deployment to a VPS provider involves serious compromises. Both internal switching and the perimeter firewall are absent, precluding the involvement of logical network designs from modern IT.
Public cloud offerings, situated adjacent to VPS, do offer solutions, but cloud engineering, while accepted as competing well in the marketplace of ideas, is a distinct IT practice area. The presence of outsourcing as an alternative to infrastructure ownership does not constitute a solution to the problem of a missing low-barrier sandbox for learning and practicing traditional IT skills such as systems and network administration.
Let’s introduce two key players: VyOS, and Vultr, and propose these as partners in a potential solution.
VyOS is an open-source network operating system for x86-64 architecture. VyOS is directly comparable to Cisco and Juniper in terms of protocol support and configuration syntax. VyOS looks, feels and plays like an enterprise-grade router, and skills learned deploying and managing VyOS are enterprise skills.
VyOS differentiates itself in the marketplace on two key points:
- instead of a physical device needing to be purchased and racked, it is a software solution, and
- instead of closed-source or open-core model software, it is fully open-source software.
Vultr, unlike a bare-bones VPS provider, does tackle the modern IaaS market, but it retains a pricing structure and user interface that are each recognizable to the traditional VPS consumer. Vultr is well-regarded, and highly performant, and it offers a free trial for new signups.
Here are what I consider to be Vultr’s key features:
- presence in the Terraform registry,
- KVM-based virtualization with cloud-init support,
- internal “VPC” networking, and
- BGP and IPv6 support.
Today’s challenge
As a commercial open-source project, VyOS restricts download access to its official releases to paying subscribers, and it’s priced for enterprises. While there are a few ways you might qualify for free access (see https://vyos.net/get/), most people will not.
The solution is to build our own VyOS release. The VyOS project provides a combination of good documentation and excellent tooling which makes this easy.
In this blog post, I will show how to build VyOS 1.3.x equuleus, at this time the latest VyOS LTS release, for deployment to the Vultr Cloud platform. Follow-up blog posts will complete the deployment of VyOS as an edge router and perimeter firewall in front of a robust, multi-segmented internal network on the Vultr Cloud platform.
Outline of the solution
- Deploy a Cloud Instance (the “build instance”) via Vultr portal
- SSH to the build instance as the root user
- Install Docker Engine on the build instance
- Execute the VyOS ISO build procedure
- Configure web server software to host the ISO
- Use Vultr portal to pull the ISO into the Vultr account
- Save a copy of the ISO and destroy the build instance
- Intermission and additional background
- Deploy a second Cloud Instance (the “template instance”) via Vultr portal
- Access the template instance by its virtual console and install VyOS
- Snapshot the template instance
- Destroy the template instance
- Validation
- Credits
Deploy a Cloud Instance (the “build instance”) via Vultr portal
-
In your Vultr portal, under Products > Compute, select Deploy > Deploy New Server.
- Fill out the form to specify details about your new instance.
- Cloud Compute > Regular Performance (AMD or Intel) server is fine.
- Debian 12 x64
- Select an instance type with 25 GB SSD.
- Specify a hostname, vyos-build.
- Optionally add an SSH key, or just plan to SSH using root password.
- Deploy Now
- Observe your vyos-build instance running in Vultr portal. Note its IP address. Also, drill in to retrieve the
root user’s credential unless you pushed your own SSH key.

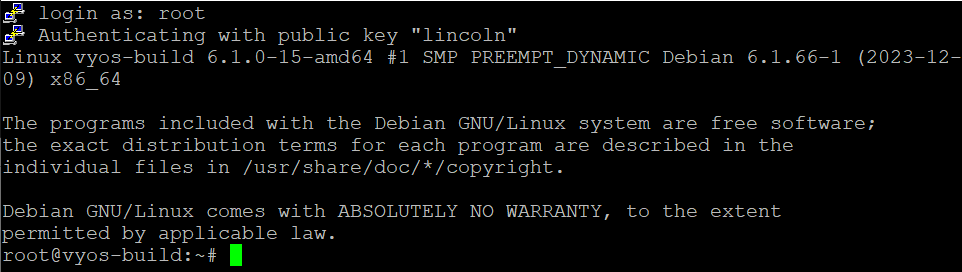
SSH to the build instance as the root user
-
You will need your vyos-build instance’s IP address and credentials from the Deploy step above.
-
Use any SSH client (such as PuTTY) to connect to your vyos-build instance. The username is root regardless of whether you are using the root user’s password or have pushed an SSH key; the key, if provided, was installed to the root user’s account, no named user account was created.
-
You are ready to move forward once you have obtained a root shell:
Install Docker Engine on the build instance
There are different ways you can build VyOS. Building using a Docker container is the approach I will cover.
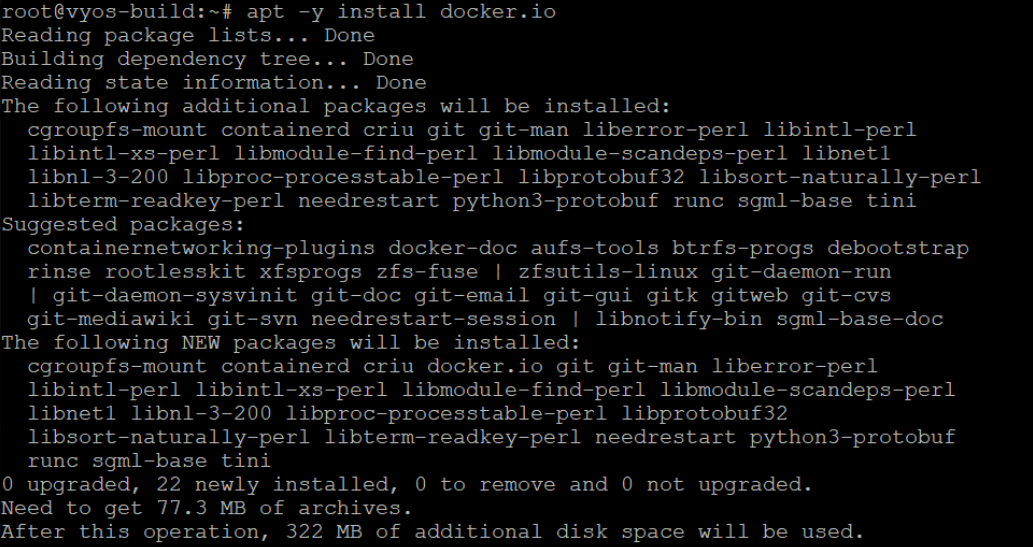
You will need to have Docker Engine installed. The version in Debian’s package repository is adequate.
- It’s a one-line install:
apt -y install docker.ioYou’re on track if your kick-off of the command looks roughly like this:
Execute the VyOS ISO build procedure
To recap, you should currently be logged into a 25 GB SSD Cloud Instance on Vultr, have Docker Engine installed, and be sitting at a root prompt in the root user’s home directory. If that’s where you are, you’re ready to move forward.
This is what you need to do to build your VyOS 1.3 LTS release ISO.
- Pull the Docker image that will be used to build the ISO:
docker pull vyos/vyos-build:equuleusSuccessful completion should look like this (after pages of output):

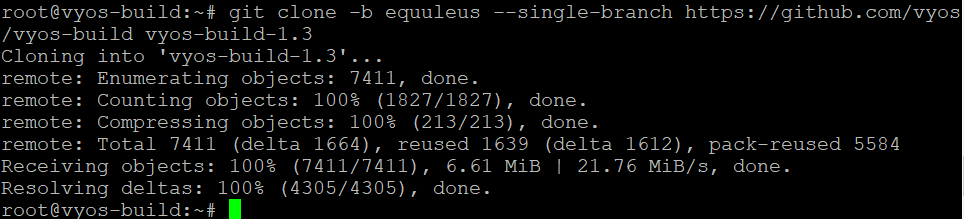
- Clone the repository:
git clone -b equuleus --single-branch https://github.com/vyos/vyos-build vyos-build-1.3This is how it should look in the shell:
- Switch into the cloned repository:
cd vyos-build-1.3/
- Copy in the Vultr apt repository signing key (we will integrate Vultr’s cloud-init):
cp /etc/apt/trusted.gpg.d/vultr-apprepo.gpg .
- Run the build container:
docker run --rm -it --privileged -v $(pwd):/vyos -w /vyos vyos/vyos-build:equuleus bashThis switches into the build environment. Notice how the prompt changes:

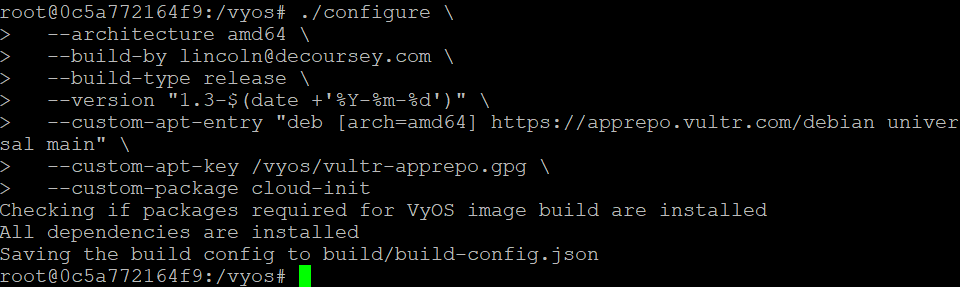
- Run the configure script in the container:
./configure \
  --architecture amd64 \
  --build-by lincoln@decoursey.com \
  --build-type release \
  --version "1.3-$(date +'%Y-%m-%d')" \
  --custom-apt-entry "deb [arch=amd64] https://apprepo.vultr.com/debian universal main" \
  --custom-apt-key /vyos/vultr-apprepo.gpg \
  --custom-package cloud-init
How it should look:
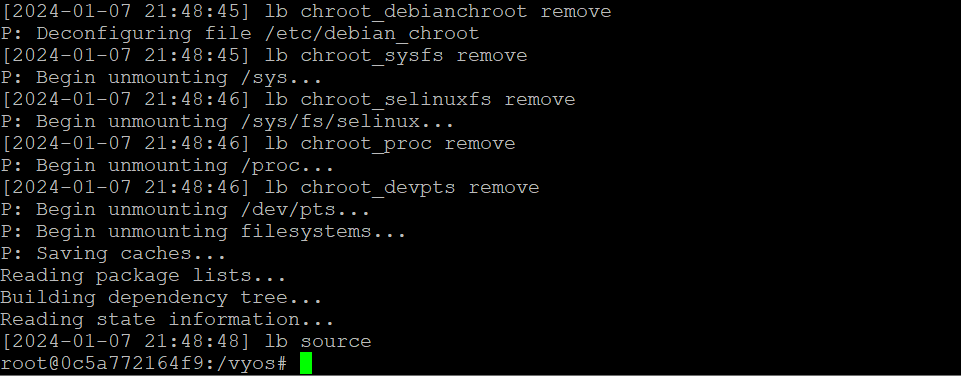
- Create the ISO:
make isoThis takes a while so feel free to step away. When you do get your prompt back it should look like this:
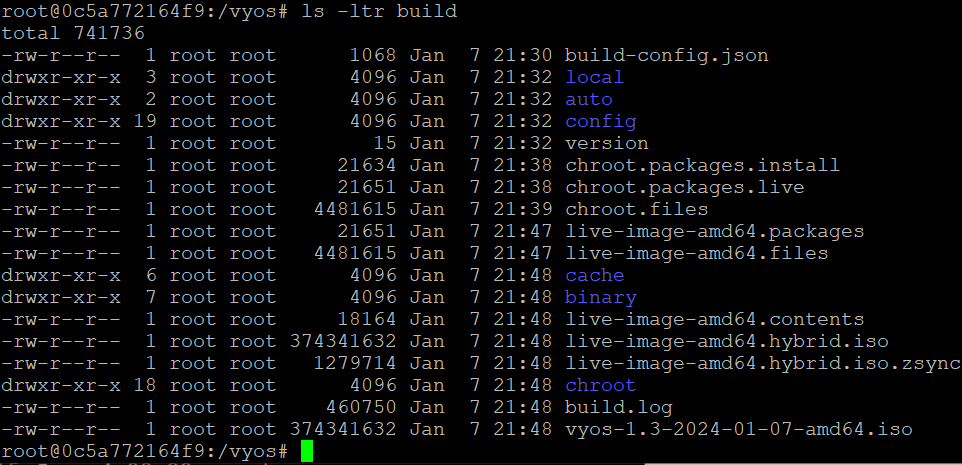
- Once the above step is completed, you should be able to see your ISO file in the filesystem.
ls -ltr buildMake note of your ISO image filename, as you will need to substitute it into some later commands.
- Exit the Docker container & return you to the host OS.
exitNotice the prompt changes back:

- Place a copy of the ISO file into the root user’s home directory before moving on. This is just
to be foolproof. You need to substitute your actual ISO filename into the sample command below:
cp build/vyos-1.3-2024-01-07-amd64.iso ~
Configure web server software to host the ISO
Besides building the VyOS ISO, we will also need to arrange web hosting for it. Vultr’s custom ISO support is based around us initially hosting the custom ISO image, providing Vultr with a download URL for it, and then Vultr imports it from there to its storage.
- Install web server software.
apt -y install nginx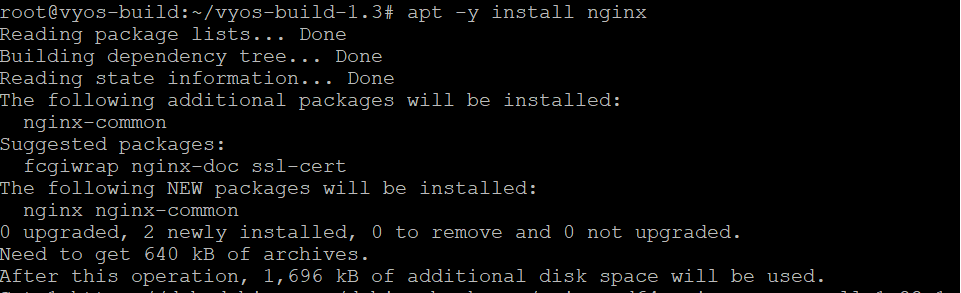
- Allow inbound http access through the host-based firewall.
ufw allow http
- Copy the new ISO image into the base content directory for the web server software.
Substitute your actual ISO filename in place of vyos-1.3-2024-01-07-amd64.iso.
cp ~/vyos-1.3-2024-01-07-amd64.iso /var/www/html/
- The ISO file should now be web accessible, via the build instance. To validate, work up the access URL using the
IP address of your build instance (that shows up in your Vultr portal) and the hostname of the ISO file from step 3.
Download the ISO file using a web browser.
http://[your vyos-build instance's IP]/[your ISO filename]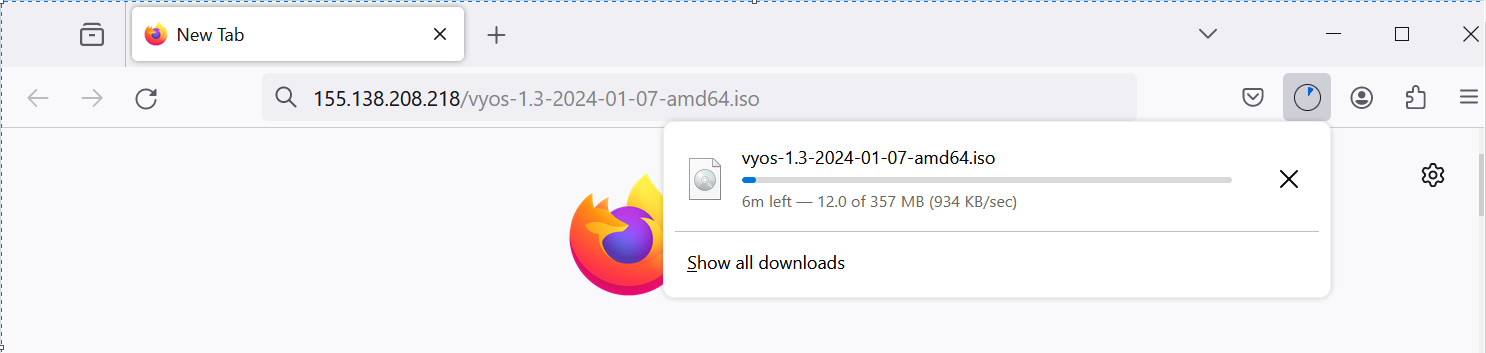
Use Vultr portal to pull the ISO into the Vultr account
-
In the Vultr portal, under Products > Orchestration > ISOs, select Add ISO.
-
Paste the URL for your ISO image being hosted by your build instance on Vultr
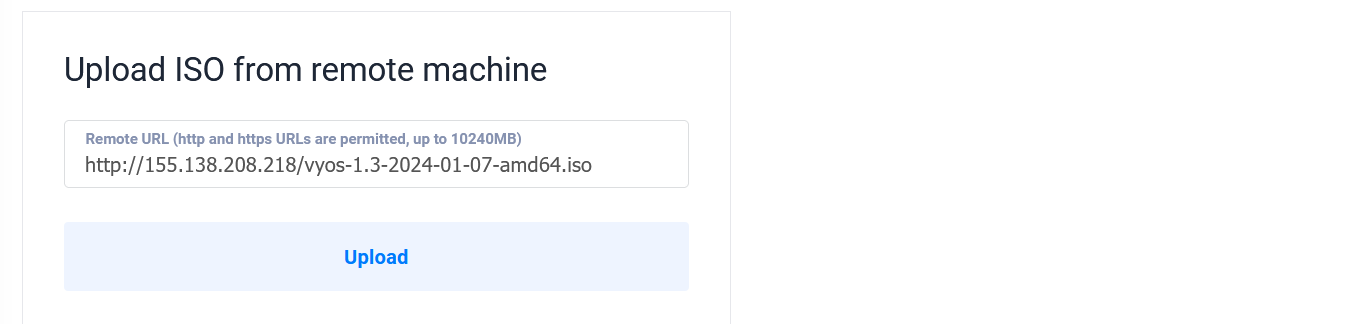
-
Click the Upload button. You should see an “ISO downloading” status.

-
After a while, navigate back to Productions > Orchestration > ISOs. You should now see your ISO available.

Save a copy of the ISO and destroy the build instance
-
At some point we will want this same VyOS ISO for use elsewhere, and the Vultr portal will not give us back a copy. Let’s make sure to have retrieved a full copy of the ISO from the build instance to some safekeeping location (e.g. Downloads directory).

-
Now that the VyOS ISO build is complete, the build instance is no longer required. Stop the build instance, via Vultr’s portal, and destroy it. Products > Compute > vyos-build > Server Stop, Server Destroy.

Intermission and additional background
So far we have created a VyOS ISO image, which is a VyOS live CD environment and installer. It is, in a nutshell, bootable VyOS installation media.
Bootable installation media is a major way for baremetal servers to be OS-installed and remains a viable option for installing virtual machines, too. Drawbacks of this method include the use of a live person to drive an OS installation wizard, which forecloses online provisioning, the subtle inconsistencies that result, and the extensive amount of time the package-by-package installation process can take. While mitigations exist for these drawbacks, no matter how much engineering is added, unavoidably this server provisioning strategy involves a ton of moving parts.
Image-based provisioning has emerged as a standard in enterprises for eliminating OS software installation from the provision-time process. Instead, an OS install process is completed just once, on a workbench. A snapshot is then taken of the installed system to serve as a base (or “golden”) image from which additional servers of the same type will be cloned. Cloud instances and larger VM fleets under modern hypervisors are deployed almost exclusively using this strategy.
Let’s convert our ISO to a Vultr snapshot so that provisioning can happen in a modern way.
Deploy a second Cloud Instance (the “template instance”) via Vultr portal
- In your Vultr portal, under Products > Compute, select Deploy > Deploy New Server.
- Fill out the form to specify details about your new instance.
- Cloud Compute > Regular Performance (AMD or Intel) server is fine.
- Upload ISO > select your VyOS 1.3 ISO
- Select an instance type with at least 1 GB RAM
- Specify a hostname e.g. vyos-template.
- Click Deploy Now, under Products > Compute, watch for instance startup
Access the template instance by its virtual console and install VyOS
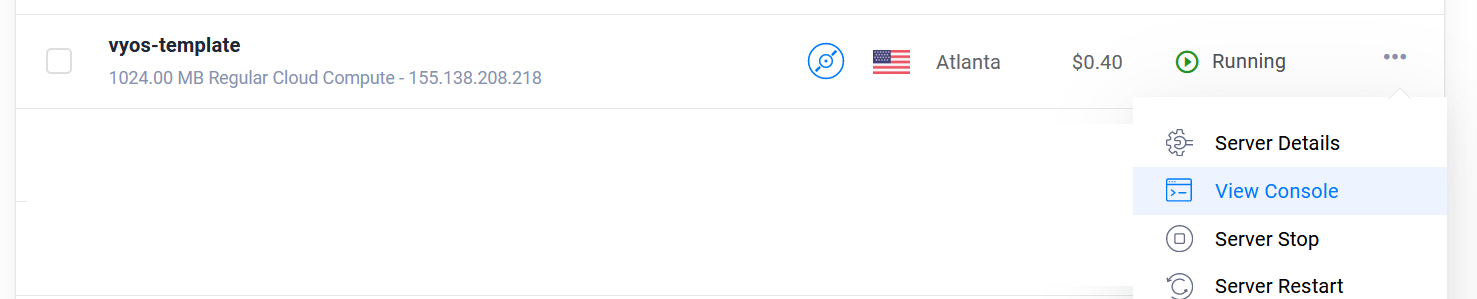
- Find your instance in the Vultr portal at Products > Compute > vyos-template
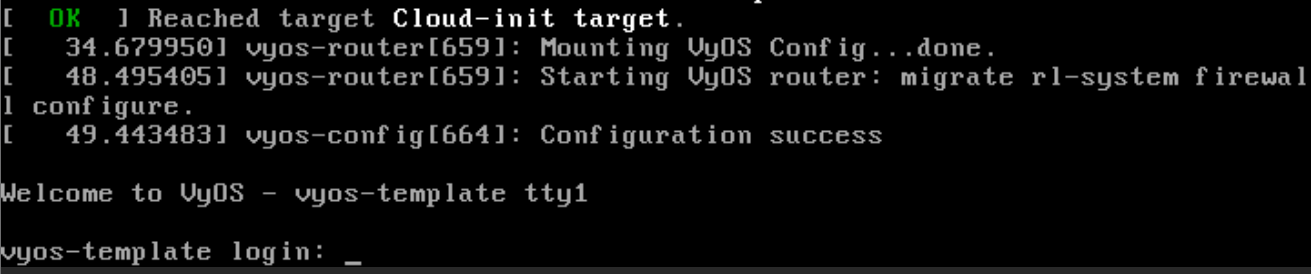
- At the right, open the three-dot menu and select the option to View Console
- Once the virtual console opens, you should notice a login prompt:
- Log into the console using the default credentials:
u: vyos
p: vyos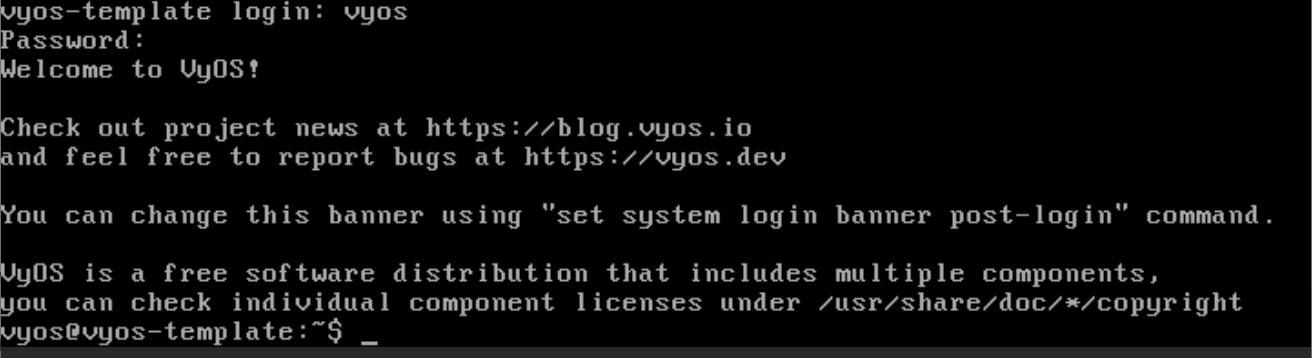
- Execute these few “show configuration commands” commands one at a time, observe output:
show configuration commands | match hw-id
show configuration commands | match host-name
show configuration commands | match name-server
- Enter configuration mode:
configure - Based on the output from step 5 above, work up and execute corresponding commands to delete each of those
configuration items. “set” becomes “delete” for each item:
delete interfaces ethernet eth0 hw-id '56:00:04:b7:fe:d4'
delete system host-name 'vyos-template'
delete system name-server '108.61.10.10'
delete system name-server 'eth0'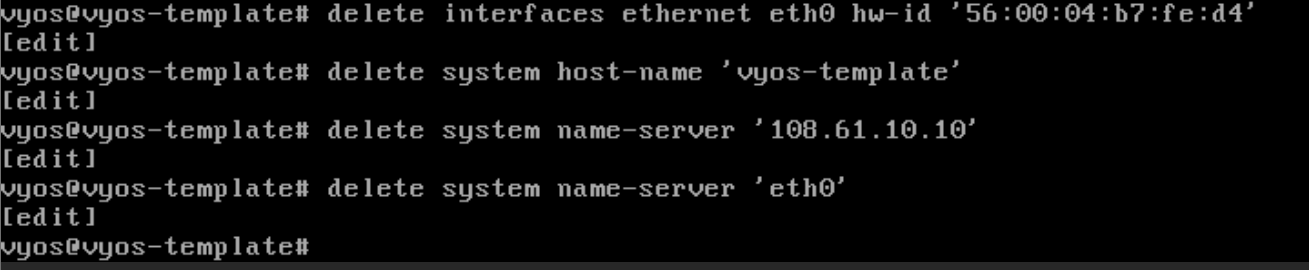
- Commit those configuration changes:
commit
- Save those configuration changes:
save
- Exit from configuration mode:
exit
- Execute the VyOS install-to-disk command and take the defaults (just hit Enter) up until the
“Continue: (Yes/No) [No]” prompt:
install image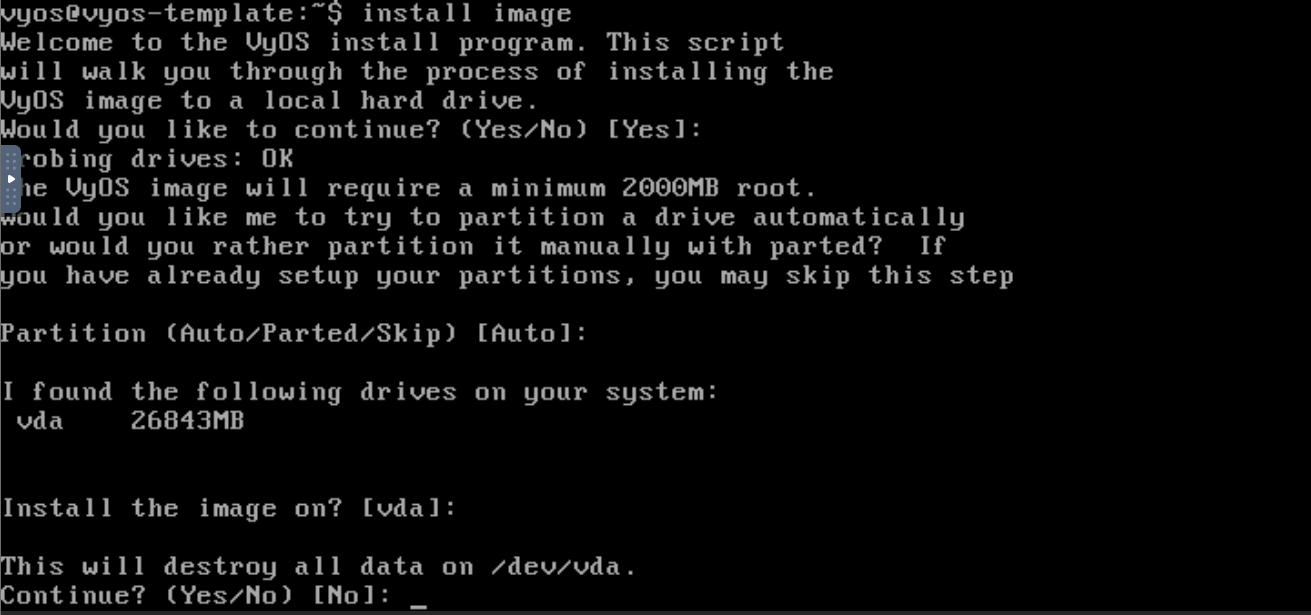
- This prompt you must explicitly respond to with “Yes” to confirm the wipe/repartition of the virtual HDD:
Yes
- Resume taking the defaults (just hit Enter) until you are prompted about the vyos password. This is asking you
to assign a new password for the vyos user that will carry over into the snapshot image.
1mYarqCY3MHbE69 # example, pick your own!
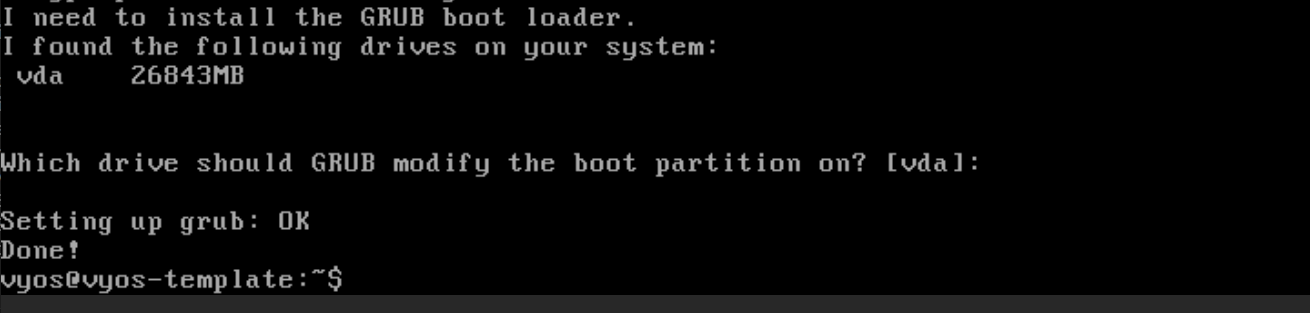
- The installation is wrapping up now. Just hit Enter. Install completes & normal prompt returns:
- It is best practice to log out of any server’s console once you are finished using it, to avoid leaving a shell
prompt that an unexpected person may otherwise stumble onto. Following best practices for proper exit and
clean shutdown even during the decommissioning process is a sign of respect, and covers all bases in case plans
change.
exit
Snapshot the template instance
-
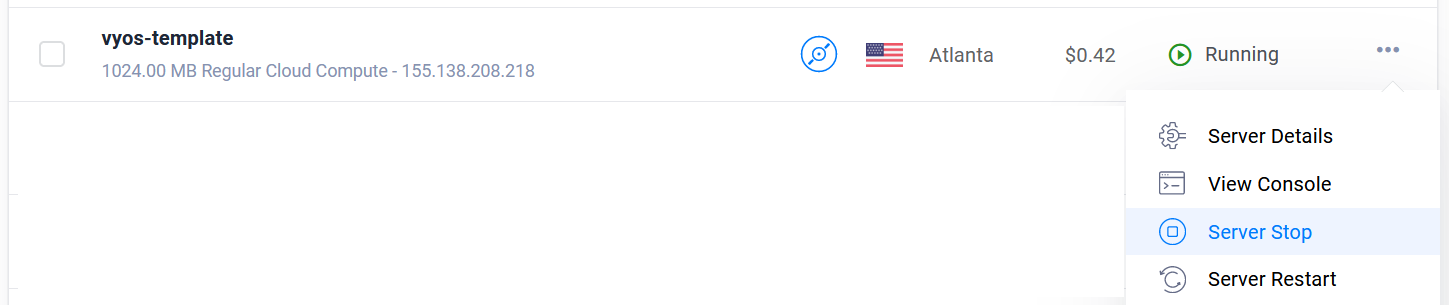
Products > Compute, find the vyos-template image, open its three-dot menu, and let’s power the instance off for good measure. Select the option Server Stop.
- From Products > Compute, again drill into the vyos-template instance and, on the Snapshots tab, use the option to
take a snapshot.

- Click the Take Snapshot button. You should see a snapshot in progress result

- Products > Orchestration > Snapshots, watch for the snapshot to become available after a fair while

Destroy the template instance
- Once the shapshot is available, the vyos-template cloud instance is no longer needed.
Destroy that cloud instance now. Products > Compute > vyos-template > Server Destroy.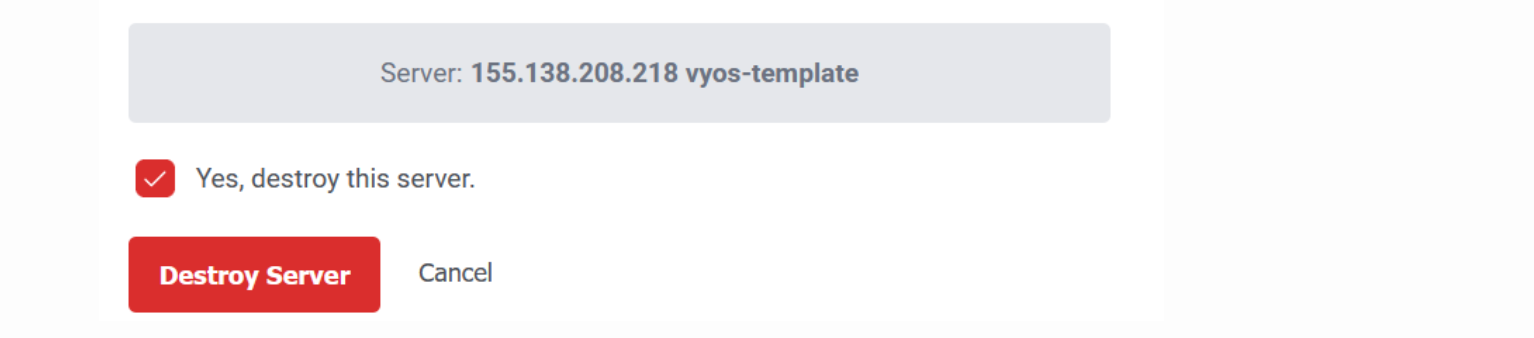
Validation
It is important to validate your work. For example, after deploying a backup solution, test restoring from it. After configuring an alert related to PSU redundancy, pull one of the redundant PSUs. Does the alert come through? If you have engineered a failover mechanism, think about how you might trigger it in order to validate the solution.
In this case, we need to test-deploy a VyOS instance to be sure it comes up cleanly and looks good. And this is just a quick sanity check. Fuller checks and acceptance tests will be performed as part of an actual Proof of Concept to be covered in subsequent posts.
- In your Vultr portal, under Products > Compute, select Deploy > Deploy New Server.
- Fill out the form to specify details about your new instance.
- Cloud Compute > Regular Performance (AMD or Intel) server is fine.
- Snapshot > Select your vyos-template snapshot
- Select an instance type with at least 1 GB RAM
- Specify a hostname e.g. vyos-test-1
- Deploy Now
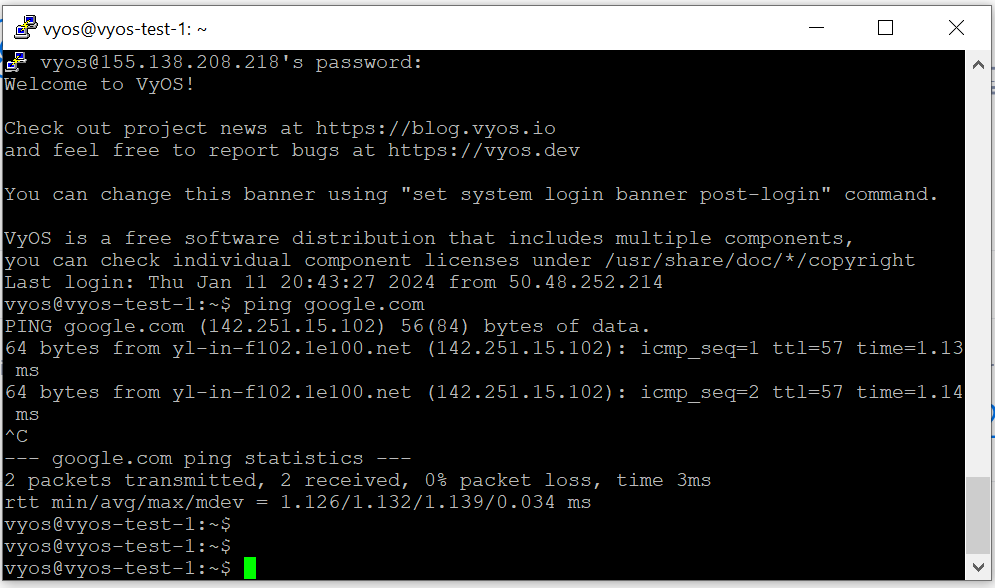
- Once you see your vyos-test-1 instance running in Vultr portal, wait a few minutes for the system to complete
booting and for cloud-init to have a chance to initialize the configuration. Then, use any SSH client to check it
out. If you encounter problems with SSH access, fall back to the virtual console to investigate.
- Once you’re done testing, go ahead and destroy your test server. Keeping track of test/dev resources that have been allocated to you, or that you have spun for yourself, and returning or deleting them when no longer needed is a good practice and will set you apart in most workplaces.
Credits
- Official VyOS build documentation – https://docs.vyos.io/en/equuleus/contributing/build-vyos.html
- Helped me, copied some steps too – https://wiki.gbe0.com/networking/vyos/docker-build